This comprehensive guide covers all aspects of segmented wooden turnings. Keeling also discusses changes in technology and safety issues when working with wood. The book includes 10 projects, which progress in difficulty, as well as a gallery of inspirational segmented designs. The book is intended for beginners to learn the basics of segmented turniment making, but it is not an exhaustive guide to those who want to create the most beautiful turniments.
Techniques
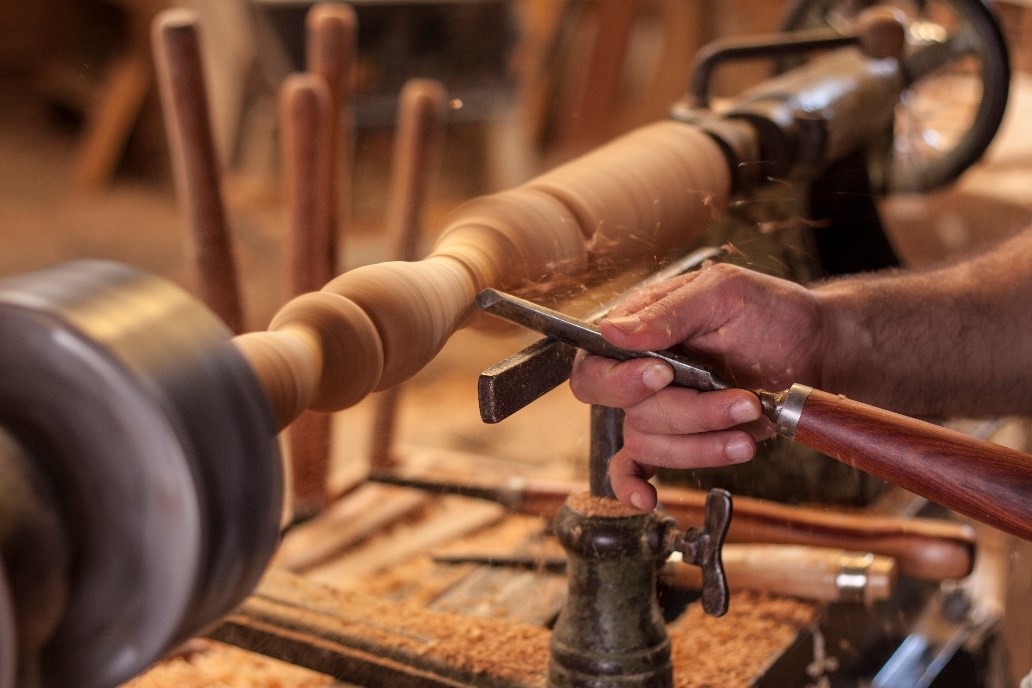
William Smith's Techniques for Segmented wood Turnings outlines the steps required to create segmented turned objects. This woodworking technique is great for creating complex vessels that have intricate details. This technique is especially suitable for beginners. Before beginning, you should have some basic knowledge of woodworking. If you have any experience in the field of turning, it is ideal. You can learn the basics and then move on to more advanced techniques.
Materials
There are many ways to make segmented wood turns. These can be made using stave or ring construction. Because wood expands in the opposite direction of its grain, the turner should consider non-parallel grain directions. This will help to ensure that the piece is not damaged. This book will cover the basics as well as the many styles and types that wood turning can be done.
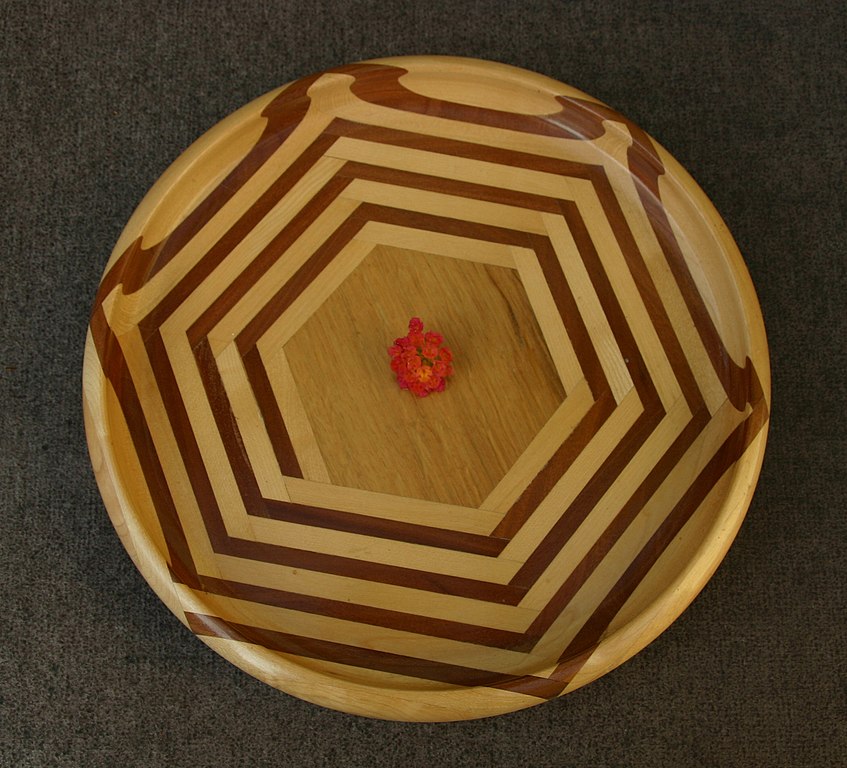
Feature Rings
Many segmented bowls have a feature called a Feature Ring. The zigzag elements that turn on their sides create an almost lightning-like effect in the ring of the segmented box. The finished turning is sanded to 600 grit and filled with clear lacquer. These ring shapes can be used as home decor items or gifts. This 120-minute DVD will show you how to make segmented jars.
Ring construction
There are several methods of creating rings for segmented lumber turnings. These include using both stave construction and ring building. You can also use the technique with solid, unsegmented wood. Wood expands in a direction that is perpendicular with its grain and moisture content. Non-parallel grain direction can affect the shape of the ring, and the turner must consider this when designing the segmented turn.
Stave construction
Segmented wood turning can be done in two main styles: ring or stave. The most common style is the ring, while some projects may require stave. While each style has its merits, ring is the most popular and easiest to accomplish. This article will explain the differences between ring and stave construction, and how to apply them to your next segmented project.
Solid wood
Precision of miter angles are crucial when turning solid wood segments. Depending on the size of the ring, segments may vary in width. PVA wood glue is required to attach segments. Two segments can be joined at once. They can be held together by clamping rings using hose clamps. For each eight segments, you should use a miter angle between 22.5 and 23 degrees.
Floating base
A flat or sloping base is not recommended for creating segmented wooden turnings. A floating base reduces stress on the piece and can prevent it from breaking. Floating bases can be made from a half-mortise joint where a solid disc fits in the gap, allowing the wood to move freely. Floating bases are also very stable, especially when using quarter-sawn lumber instead of plain-sawn. A floating base should have a diameter of less than 6 inches.
FAQ
What kind tools do carpenters use to build?
The most common tool used by carpenters is a hammer. A hammer helps to carpenter pound nails into the wood. They can also use it to hold the pieces together as they work on a project. Other tools include clamps, pliers, screwdrivers, measuring tape, pencils, saws, drills, and wrenches.
Can I make my living doing this job?
Yes! Many woodworkers have this ability. According to the U.S. Bureau of Labor Statistics in May 2012, the median annual income for woodworkers was $34,000 This is significantly higher than the national average, which is $31,000 per year.
Are there any tips for starting a woodworking enterprise?
It's not easy to start your own woodworking business. It's worth it if you're passionate and willing to work hard. You will probably love the challenge of starting your own business.
When you are launching a new venture, it is important to be aware of the possibility that you will encounter unexpected difficulties. Unexpectedly, money might run out. Or you might find that your customers aren’t willing or able to pay as much you had hoped. To survive, you'll need to be prepared for such situations.
One tip is to have a separate banking account for your company. You'll be able to track how much money comes in and out.
Where do I get my woodworking supplies?
You can find everything you need in many places. You can visit your local hardware stores, or you can look online at sites like Amazon.com.
You can also search flea and garage sales for furniture and other materials that can be reused.
Statistics
- Most woodworkers agree that lumber moisture needs to be under 10% for building furniture. (woodandshop.com)
- Average lumber prices rose about 600 percent between April 2020 and May 2021. (familyhandyman.com)
- Overall employment of woodworkers is projected to grow 8 percent from 2020 to 2030, about as fast as the average for all occupations. (bls.gov)
- The best-paid 10 percent make $76,000, while the lowest-paid 10 percent make $34,000. (zippia.com)
External Links
How To
How to make wood joints
This tutorial will teach you how to join two pieces wood together. We will use the "pockethole joint," which means that we drill holes in the wooden pieces and then glue them together. If your wood has a straight grain, smooth surface, you can use this method. If your wood isn't straight or flat, you might want to try another method, such as dowel joinery. Here are the steps
-
Drill Pocket Hole Joints. You will need to measure and mark the exact location of your pocket hole joint. Then drill 3/4 inch deep holes into the ends of each piece of wood using a jig saw or handheld drilling machine.
-
Sand Smooth. Sanding the edges of the wood will help to prevent the joint from splitting later.
-
Glue Together Apply glue to both sides of the wood. Allow it to cool for at least 5 minutes before you attach the pieces.
-
Attach the Pieces together. After the glue has dried properly, clamp the pieces together to make sure they are flush.
-
Trim Joinery. After the glue dries completely, trim off any excess wood around the joint.
Make sure to leave enough room between the pieces so that you can turn them inside and out.