You can now create your own wood lathe if you've purchased a wood turning desk! You can create stunning pieces of art and intricate shapes with this machine. To understand the essential features of this machine, read this article before buying. Also, consider the following: Spindle roughing speed, Rotational Speed, Respiratory Equipment, and others.
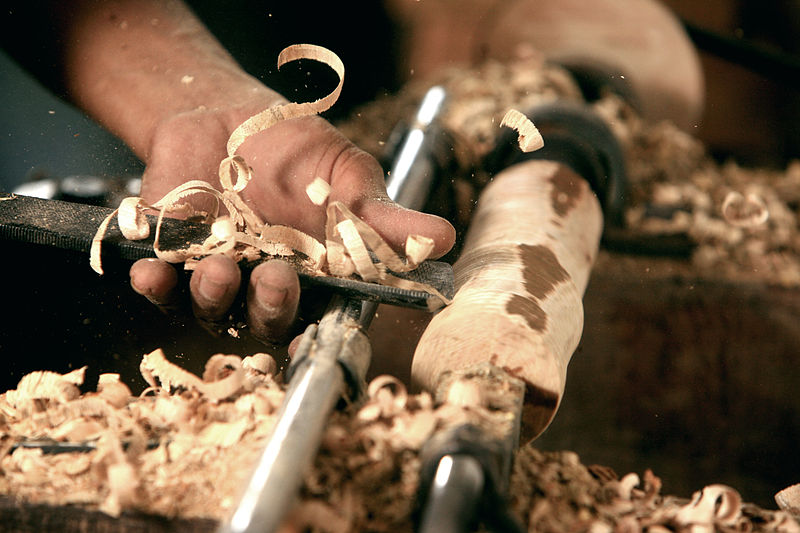
Lathe
It is important that you find the right wood lathe for your needs. You can get projects done faster if your machine has a high horsepower. Likewise, the motor needs to be regulated, so take note of the voltage of your power source. You will want to ensure your investment is protected by ensuring that the table has the right power source and adequate warranty.
It is also important to consider the swing and diameter of your lathe. A 15-inch lathe can turn items up to 15 inches in size, but the bed surface must be 7 1/2 inches from the spur center. Many lathes have a swing range between 10 to 17 inches. The swing range should be increased based on the item's diameter. A lathe that has a large swing is recommended if you are planning to make large-diameter turns.
Rotational speed
Before you can choose the right RPM range to fit your needs, it is important to understand your goals. If you are making heavy roughing cuts, then you will need a lower RPM than if your goal is to make finer finishing cuts. If you are going to use wood from damaged trees, you will need to use a higher RPM than if the wood was in good condition.
The surface speed concept is used to calculate your wood-turning desk's RPM. It is the speed at wood moves past a cutting edge. The lower end of the suggested range is about 18 miles per hour, while the upper end is about 2,500 feet per minute, or over nine thousand RPM. However, there are other considerations, such as safety and balance. Safety reasons may require you to use a lower RPM if your are a beginner.
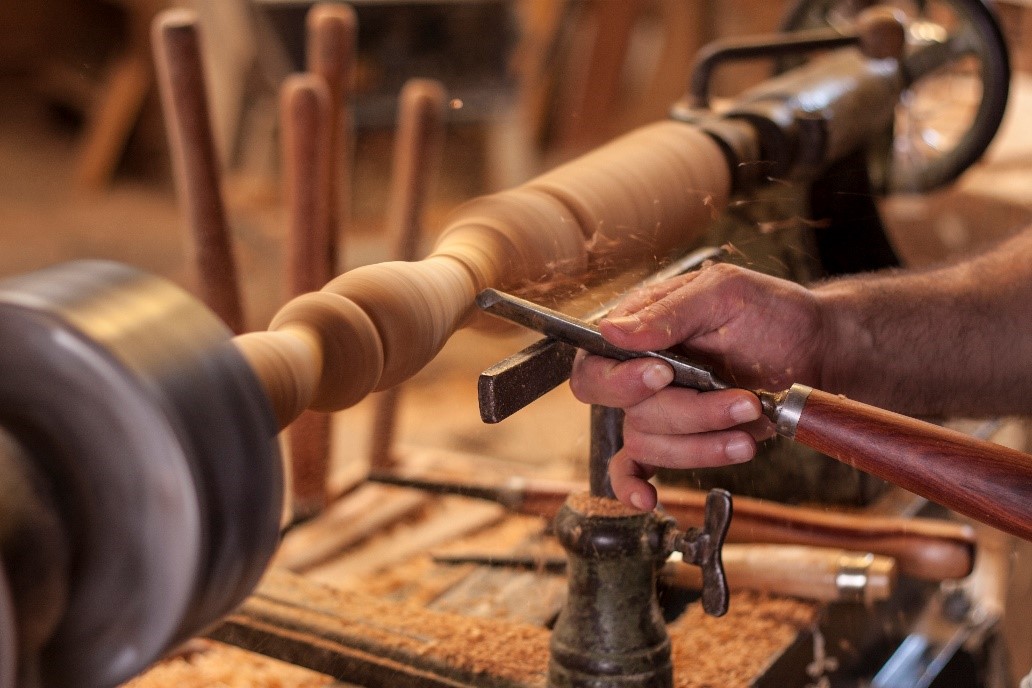
Spindle roughing gouge
A spindle grinding gouge is a multipurpose tool that can be used to make concave shapes and tapers. To remove corners, start at the center of a square blank. Next, shape the profile using grinding and honing. Once you have finished this, you can add the edge.
A roughing gouge comes in three different sizes, large, medium, and small. You should start with a 3/4-inch gouge. A larger gouge will work better for turning spindles from large chunks of split wood. M2 High Speed Steel will keep its edge for many turns. A larger gouge will be better for larger projects but a smaller one will work well for most spindle-turning jobs.
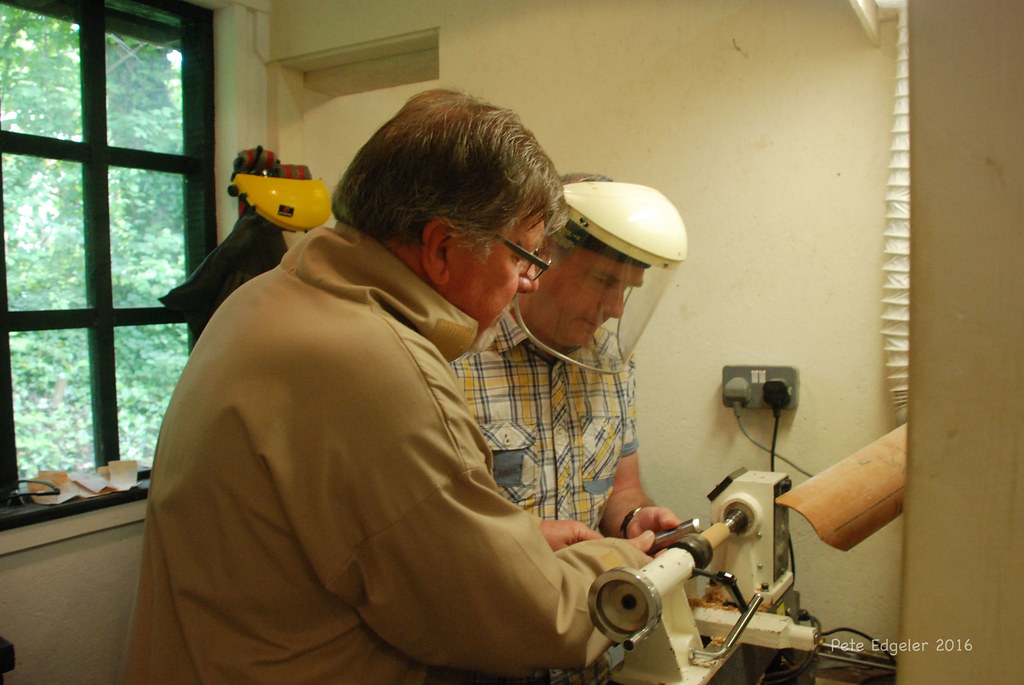
Equipment for the respiratory system
Protective gear is required for woodturners. This includes safety glasses, safety goggles and a visor. A visor that covers your entire head is the best protection. A tabletop that turns quickly is a nice touch, but you need to take responsibility for your own health. For protection against harmful airborne particles, it is important to have proper protective gear.
A good mask is essential to protect your lungs from fine wood dust. Paper dust masks are not adequate to protect against wood dust. Multi-level dust protectors are necessary to filter the air in your shop, while also protecting you personally. There are many options on the market for filters. You can choose from full-face or half-mask respirators. This will protect you, your workshop, and the fine wood dust.
Use the wrong technique or misapply a technique
There are many mistakes that can be made when turning wood. These mistakes could lead to serious injuries and worse, even death. You can avoid making these errors by learning about woodturning safety. Follow all safety precautions and instructions given by the manufacturer. Consult an expert if you are unsure. A woodturning expert is the best person to consult with in case you have any questions or concerns.
When turning wood, pay close attention to your swing as well as the cutting edge. The bowl gouge's cutting edge only represents a small percentage of the total area. Do not make too many bowl turning passes. This can cause the wood to grab and engage too much of your cutting edge. Instead, make slow, steady passes to achieve your desired shape. You may not get the results you want if you use the wrong technique or the wrong tool.
FAQ
Do you have any advice on how to start a woodworking business.
It is hard work to start a woodworking company. You won't mind working hard if your hobby is something you love. You will probably love the challenge of starting your own business.
It is important to remember that unexpected problems may arise when you start a new venture. You might run out money, or you may have to borrow unexpectedly. Or you might find that your customers aren’t willing or able to pay as much you had hoped. These situations are necessary for survival.
Set up a separate account in your bank for your business. This way, you'll always know exactly how much money you have coming in.
Is it necessary to be a genius in woodworking to succeed?
No. Woodworking is not rocket science. Anyone can learn to use basic powertools and techniques to create beautiful work of art.
Can you teach yourself woodworking?
The best way to learn anything is by doing. Woodworking is an art form that requires patience, practice, skill, and experience. It takes time to master any craft.
Learning how to do something is best done by doing it. Start small and use what you learn.
What is the difference in plywood and particleboard?
Plywood is made up of layers of wood pressed together under pressure. Plywood comes in several thicknesses and is commonly used for cabinets and flooring. Particle board is made from sawdust mixed with resin and then compressed into large blocks. It's commonly used for home improvement projects. Both boards are strong and can be easily cut.
What is the difference between a hobbyist woodworker and a professional woodworker.
Hobbyists enjoy creating things out of wood. Professionals tend to focus on the quality. Hobbyists are proud of their creations and will often share them with family members and friends. Professionals will spend hours researching designs and then begin to create a project. They will pay attention to every detail, from selecting the best materials to finishing the project perfectly.
How do I know what type of wood I'm dealing with?
When purchasing wood, always check the label. It should have information about the wood species as well its moisture content and whether any preservatives were used.
Can this be a way to make money?
Yes! Many woodworkers are already doing so. According to the U.S. Bureau of Labor Statistics, the median annual woodworker wage was $34,000 in May 2012. This is more than the national average of 31,000 per annum.
Statistics
- Most woodworkers agree that lumber moisture needs to be under 10% for building furniture. (woodandshop.com)
- Average lumber prices rose about 600 percent between April 2020 and May 2021. (familyhandyman.com)
- In 2014, there were just over 237,000 jobs for all woodworkers, with other wood product manufacturing employing 23 percent; wood kitchen cabinets and countertop manufacturing employing 21 percent. (theartcareerproject.com)
- Overall employment of woodworkers is projected to grow 8 percent from 2020 to 2030, about as fast as the average for all occupations. (bls.gov)
External Links
How To
How to join two pieces of wood together without nails
Many people love woodworking. It's fun and relaxing because you can use your hands to make something useful from wood. There are times when two pieces of wood need to be joined together. This article will explain how to do this so that your woodwork projects stay beautiful.
You will first need to trim the edges of your wood pieces before joining them. Sharp corners can cause problems down the line. Now you can start gluing the boards together.
When working with hardwood, glue should be applied only to one side. For softwoods like cedar and pine, glue should be applied to both sides. Apply the glue to the boards and press them down until they are securely attached. Before moving onto the next step, make sure the glue has dried completely.
After you have glued the boards together, drill holes in the joints where you intend to place screws. You can choose the type of screw to determine the size of your holes. For example, if your screw is a 1/2-inch wooden screw, drill a hole that is at minimum 3/4 inches deep.
Once you've drilled your holes, you'll want to drive the screws through the joint and into the backside of the board. Do not hit the boards' front surfaces. It will ruin the finish. When driving the screws, try to avoid hitting the ends of the screws too much. This will help prevent splitting of the end grain.
Now that your project is finished, you'll want to protect it from the elements. To do this, you can seal the entire furniture piece or just cover the top. It doesn't matter what method you use, you want something that will last many years. Some examples include oil-based varnishes, polyurethane, shellac, lacquer, etc.
These products can be found in most home improvement shops. Just make sure that you buy the right kind for the job. Don't forget to keep in mind that some finishes are toxic. Wear protective gear whenever you are handling them.