
When you glue boards together, glue will be required. Glue can be applied to both sides of a joint, and a roller is an easy way to apply a thin coat of glue. Allow the glue to dry for 24 hours before proceeding to the next step. After curing, any glue oozes can be cleaned off with a damp cloth. Any excess glue must be removed with a chisel. Be sure to give your curing time enough!
Glue boards should be used on both sides
Gluing boards on both sides of the product will ensure it is flat and even. However, be sure not to rush the process. This is a delicate job that should be completed in stages. These are some tips that will ensure you have a successful outcome. Make sure your board is level and not buckling. You should use the right amount of adhesive.

Apply glue to the joint edges
The benefits of gluing joints are numerous. It strengthens the joint and prevents it bending or cracking. The glue is invisible, so the edges remain straight and smooth. A generous amount of glue should be spread evenly over the joint. Applying clamps at regular intervals along the joint will help create overlapping "cones of pressure" along the joint. This method ensures a thin and strong glue line. Another option is lap joints, which provide a wide range of gluing surfaces. For this type of joint, the following techniques are recommended.
Add thickness to a board
If you glue multiple boards of wood together, it is important to add thickness to each one. If you don't, the wood pieces will look plywood-like. Multiple layers of wood can give your product a unique look. When you glue multiple boards together, be sure to check the grain. A poor grain match will ruin the beauty of your project. You can avoid this by buying boards from the exact same log with a bit more waste. You can also use the stock that you have available.
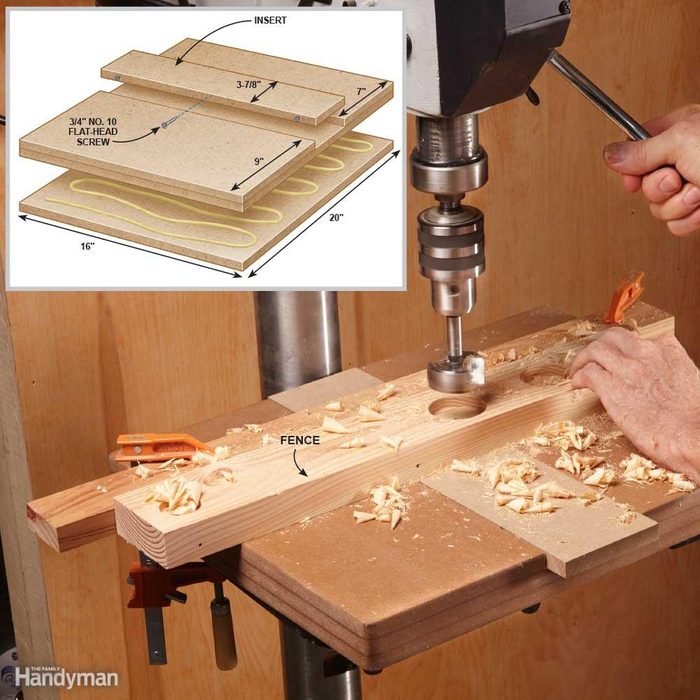
Using a caul to glue boards
A caul is a good way to make sure your glue board has a smooth surface and strong bond. A caul simply refers to a piece or hard wood you place perpendicularly on top of your table. Cauls should be made from hard wood and thicker in the vicinity of the glue seam. There are many ways you can use a glue board caul.
Avoid flexing in cauls
Avoid bowing by avoiding flex in the glue when you are gluing boards together. Cauls curve so when they are raised, they apply upward pressure. Even if the boards are symmetrical, this can lead to edge to edge boards bowing. Make sure to square up the edges and glue the panels with a quality adhesive.
Create mirror-image grain patterns using edge-glued boards
Edge-glued wood boards are made by combining two pieces with the same grain pattern. They're most often used for veneers, but can also be created from solid boards. Resawing a piece is done by joining two pieces of wood together with glue. I will be demonstrating a few simple ways to achieve this effect. Continue reading to learn more.
FAQ
What kind of wood should I use?
Oak, maple, cherry and mahogany are the most common wood types used for woodworking. Each wood type has its own characteristics which affect the final product's appearance and feel. Oak, for instance, is darker and harder than most other woods. Birch is soft and light, and mahogany is denseer and heavier. There are two options: solid wood and veneers. Veneers are thin wood sheets that are glued together to form one layer.
Where can you buy your woodworking materials?
There are many places you can get everything you need, and you don't have to go far. You could shop at your local hardware store or go online to Amazon.com.
For furniture and other materials that you can reuse, check out flea markets and garage sales.
Where do you start when it comes to woodworking?
The best way to learn how to build furniture is by building furniture. While you will need tools and make mistakes, you will eventually master the art of building furniture.
You should first choose the project you wish to complete. It can be as simple as a small box, or as complex as a complete entertainment center. Once you've settled on a project find a local skilled woodworker. Ask them for suggestions on the tools you will need and where to buy them. You might even ask whether there's someone else you can talk to who does this kind of work.
What tools are used by carpenters?
A hammer is the most commonly used tool by carpenters. A hammer is useful for driving nails into wood. It also helps them hold pieces together while they are working on a project. Other tools include clamps.
Do you have the skills to learn woodworking?
Doing is the best way to learn any subject. Woodworking requires patience, practice and skill. Mastering any craft takes time.
You can learn the most effective way to master a skill is by actually doing it. So start small and build on what you have learned from there.
How long does it take to finish a piece of furniture?
It depends on the size and condition of the furniture. Boxes and picture frames are small projects that can be completed in one day. Larger projects such as tables and desks can take several days to complete. It takes time to stain and seal the wood properly.
Statistics
- Average lumber prices rose about 600 percent between April 2020 and May 2021. (familyhandyman.com)
- The best-paid 10 percent make $76,000, while the lowest-paid 10 percent make $34,000. (zippia.com)
- Most woodworkers agree that lumber moisture needs to be under 10% for building furniture. (woodandshop.com)
- Overall employment of woodworkers is projected to grow 8 percent from 2020 to 2030, about as fast as the average for all occupations. (bls.gov)
External Links
How To
Tips for driving a nail in wood
To drive a nail into wood, the first step is to select the right size and type hammer. Claw hammers include mallets, claw hammers (sledgehammers), mallets, ball-peen hammers, hatchets, and mallets. Each type has its strengths and weaknesses. A claw hammer, for example, is the best choice if you need to hit nails hard. However, it's not easy to know exactly where the impact will land. A sledgehammer allows you to hit large areas simultaneously, but it is too heavy and cumbersome to use for small tasks.
After choosing the right hammer, place your hand flat against the side of the head so that the handle rests comfortably in your palm. Grab the handle tightly, but do not squeeze too hard. Your wrist should be relaxed while you hold the hammer straight upwards. Then swing the hammer back toward the ground, aiming for the center of the nail. You should feel the impact of your hammer hitting the nail. If you're having trouble getting the hang of swinging a hammer, practice with a block of wood until you get the rhythm down.
Hold the hammer near your body until you're ready for the nail to be driven. The nail should be perpendicular to wood's surface. Keep your focus on the tip of each nail. Then, swing the hammer forward. Next, follow the motion of your hammerhead. Repeat this action several times, gradually increasing the speed of the swing. Once you've mastered the technique, try adding power to your swings. Hold the hammer high above your shoulders and pull it down. You'll have more energy to work with.
Once you've nailed the first hole, remove the hammer from the nail. To remove the remainder of the nails, you can use a screwdriver/pry bar. You should ensure that the nails are flush with the board's surface to avoid splitting the wood.