
There's no better way than following a photo trail if your heart desires to carve. It can be an easy way to recreate a famous carving and not have to research many styles. You want your eyes and hands to look as natural as possible. It will also be very enjoyable. But don't be discouraged if you aren't a skilled carver. There are many simple ways to have realistic-looking eyes.
Lesson 4: Carving hair
This tutorial will guide you through the steps of carving a flowing hairstyle on your animal carving. It will help create a realistic appearance that evokes lifelike emotions. It will show you the various tools you can use in order to create different textures. You can also learn how to use different curved tools to create the different levels of cut hair. Once you are familiar with the basics, the next step is to learn how to work on the more complex areas of the face such as the eyeballs.
First, outline the eye cavity with a pencil. Next, draw straight lines that extend from the eyebrows to the eyelids. To make your forehead rounder and higher, you can use a pencil. Then, trim your beard with a sharp sloyd or whittling knife.
Lesson 5 Carving the feet for the crow
Crow's feet is a common condition. You should learn what causes it. Repeated facial expressions such as squinting, can lead to wrinkles. Therefore, if you are prone to crow's feet, you should use reading glasses or invest in a pair of sunglasses. To prevent crows' feet, facial moisturizers are also an option.
People who have fine lines and wrinkles around the eyes make them appear older than they are. You can easily reduce these lines to give your complexion a younger look. Here are some helpful tips.
Lesson 6: Carving iris
Children can observe the iris or ocellus through a mirror and see how they feel. They can also draw their own eyes using observational drawing and the mirror. They can look for white or different shades of one colour in the iris and the black in the centre. After they've finished drawing, they can add color using different media to create depth illusions. The children can then compare the colour differences between their drawings of eyes.
FAQ
Can I succeed in woodworking if I'm a genius?
No. Woodworking is not rocket science. It is possible to learn basic tools and techniques that will allow you to create beautiful art.
What kinds of woods are good for making furniture?
Woods can be classified according to how hard they are. Softwoods include pine, fir, cedar, and cypress. Because they are resistant to rot, softwoods are often used as outdoor furniture. These hardwoods include maple, mahogany and teak. Because they can't weather outside, they're usually used indoors.
Do you have any other information I should know about woodworking and/or the process of making it?
It's easy to underestimate the amount of work involved in making furniture. Finding the right type of wood is the most difficult aspect of this process. There are so many wood options that it can be difficult to choose the right one.
Another issue is that wood does not have the same properties. Some woods will warp over time, others will split or crack. You must take these things into consideration before purchasing wood.
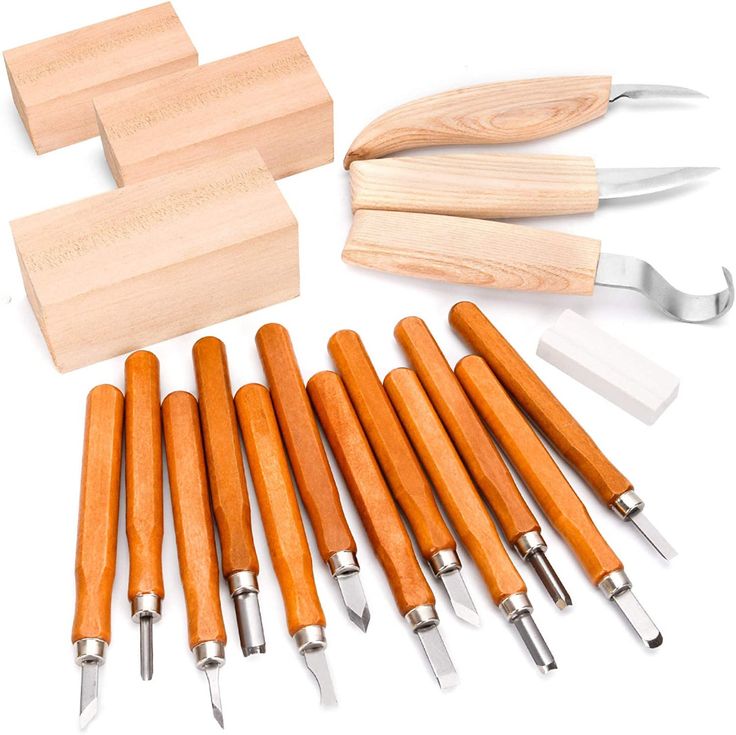
What tools should you start with to become a woodworker
Woodworking requires patience and practice. It takes time for you to master the different techniques and tools that are required to woodwork.
There are many options for woodworking equipment today. Some people prefer to use power tools while others prefer manual tools.
The choice is yours, but you must ensure you choose the right tool for the job. It may be a good idea to start with a basic set, if possible, if you don’t know much about hand tools.
A router is a tool that cuts intricate shapes in wood. You can also learn how to use it. These are available at most hardware stores.
What would you recommend as a starting material for woodworking?
Start with softwoods such as pine and poplar. These two are the easiest to master, then you can transition to hardwood.
How can a beginner woodworker make money?
Many people want to open an online furniture business and are learning how to build it. However, if you're just getting into furniture building, there are other options than selling on Etsy. You could sell at craft fairs or local events. For those who want to build their own furniture, you might offer workshops. Perhaps you have some experience as a carpenter/builder and would like to offer your services, such as remodeling homes and creating custom pieces.
Statistics
- Overall employment of woodworkers is projected to grow 8 percent from 2020 to 2030, about as fast as the average for all occupations. (bls.gov)
- If your lumber isn't as dry as you would like when you purchase it (over 22% in Glen Huey's opinion…probably over 10-15% in my opinion), then it's a good idea to let it acclimate to your workshop for a couple of weeks. (woodandshop.com)
- Average lumber prices rose about 600 percent between April 2020 and May 2021. (familyhandyman.com)
- The best-paid 10 percent make $76,000, while the lowest-paid 10 percent make $34,000. (zippia.com)
External Links
How To
How to join two pieces of wood together without nails
Woodworking is a popular hobby. It's fun and relaxing because you can use your hands to make something useful from wood. You might want to join two pieces from the same wood, but you don't need to use nails. This article will explain how to do this so that your woodwork projects stay beautiful.
Before joining the pieces of wood together, you will need to first trim any edges. You don't want to leave sharp corners that could cause problems later on down the road. Once you've done this, you're ready to start gluing your boards together.
If you are working on hardwood, you should only use glue on one side. For softwoods like cedar and pine, glue should be applied to both sides. Once you have applied the glue, press down on the boards until they are fully attached. Be sure to let the glue dry before you move on to the next step.
After you have glued the boards together, drill holes in the joints where you intend to place screws. These holes will differ depending on the type and size of screw you are using. If you plan to use a 1/2 inch wood screw, drill a hole at least 3/4 inches in depth.
Once you've drilled your holes, you'll want to drive the screws through the joint and into the backside of the board. Don't hit the board's surface. You could damage the finish. Try to not hit the ends of the screws when driving the screws. This will help prevent splitting of the end grain.
You'll need to protect your completed project from the elements. You have two options: seal the whole furniture piece or just the top. You'll want a product that lasts for many years. Oil-based varnishes are, among others, polyurethanes shellac, laquer, and other oil-based products.
These products can be found in most home improvement shops. It is important to ensure that you purchase the correct product for the job. Also, remember that some finishes are toxic and should never be used indoors. When handling certain finishes, wear protective gear.